You might be asking yourself why we are creating a video and walkthrough of how to install fan covers…
The reason is simple, our installation was not like the instructions and we could not find anyone else that had a similar installation so we figured if we were looking for help, you might be too!
Tools needed
Video source missing
What the instructions say you will be looking at

What our 2016 Tiffin 33AA looks like

Installation instructions
After researching and talking to many folks about whether to scrape off the caulking, install the fan cover and then recaulk, the determination was made to install on top of the caulk. We then did some traveling, camped through some major rain and wind storms and finally determined we had no issues with this install at all.
- Unpack the MAXX-AIR cover and ensure all parts are present. Seriously…
- Ensure that your fan lid will stop trying to open if it hits resistance without burning up the motor. Consult manual or manufacture website.
- Take all parts to the roof of the RV along with tools needed (see above)
- Place the MAXX-AIR cover over the vent and hold down
- Have your helper open the roof vent that you are working on
- Hold the cover down until your vent cover stops trying to open. Ours had a timer that waited about 10 secs before it stopped trying to open.
- Slip in the hinged side fasteners
- Center the 2 metal braces on the fan side wall and screw the small phillips screws into the plastic sidewall of the fan
- You can drill holes for this first, I did on the first holes and then decided it was easier for me to just put the screws in without a predrilled hole.
- Once all 4 screws are secured, move to the other side (non hinged)
- Place the bracket in its position and hold in place while opening the cover.
- Screw the 2 screws in for that bracket and repeat for the 4th and final bracket.
- Test the opening and closing of the fan cover by asking your help to close the fan cover, then open it. Ensure everything is still operating correctly.
- Clean all tools up and carefully make your way off the roof
- Celebrate your successful modification!!
Finished Product
-

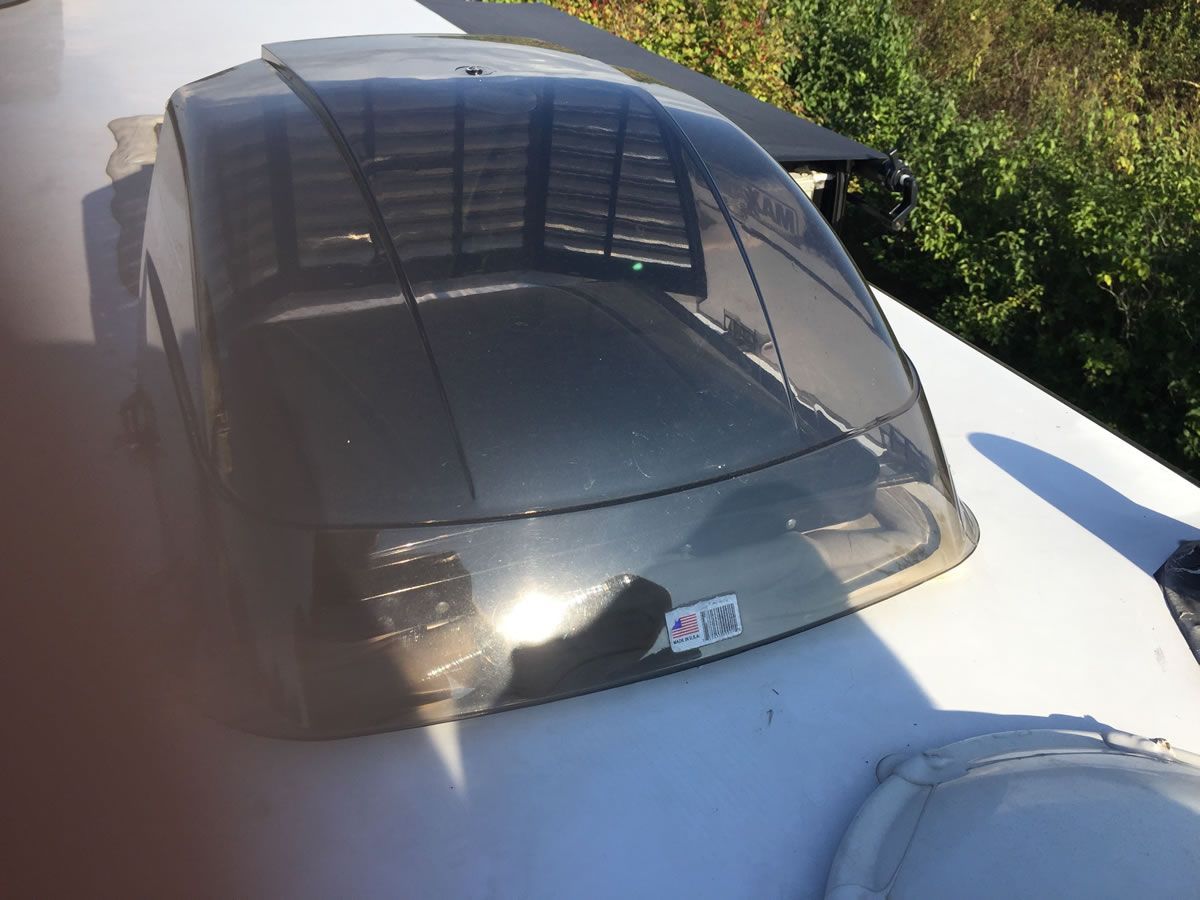
- Finished with cover closed
-
- Finished with the cover open for cleaning

-
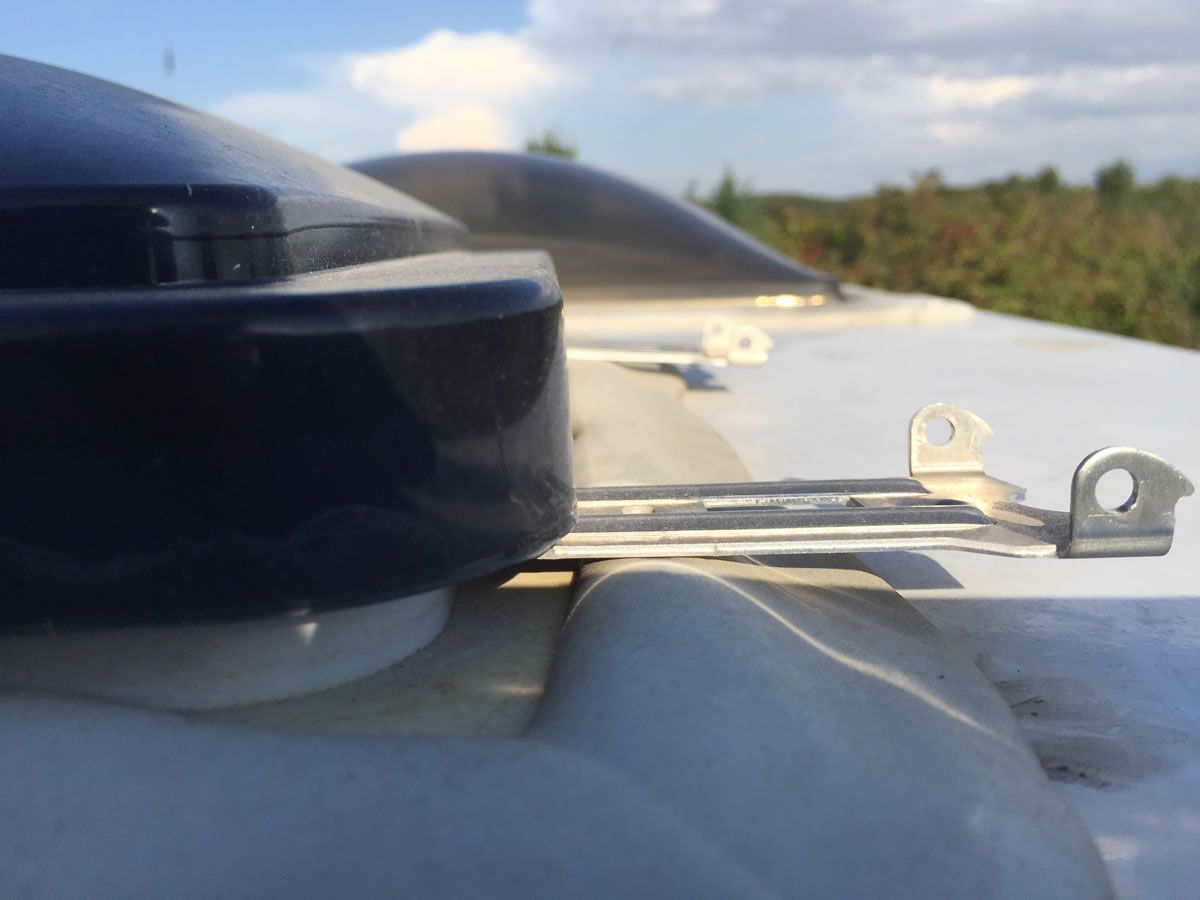
- Hinged side up close. Bracket on top of caulk
-
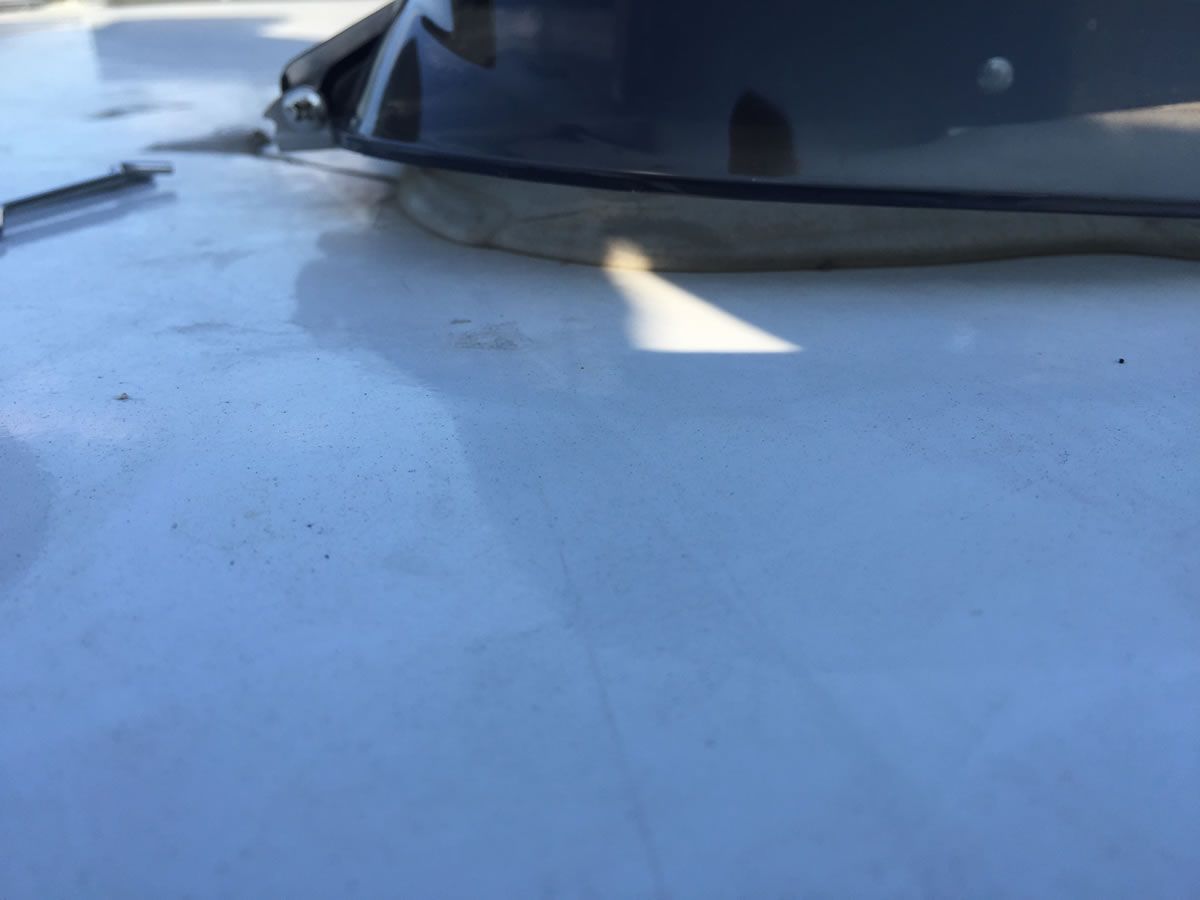
- Gap under the fan, it does not site flush to the roof
-
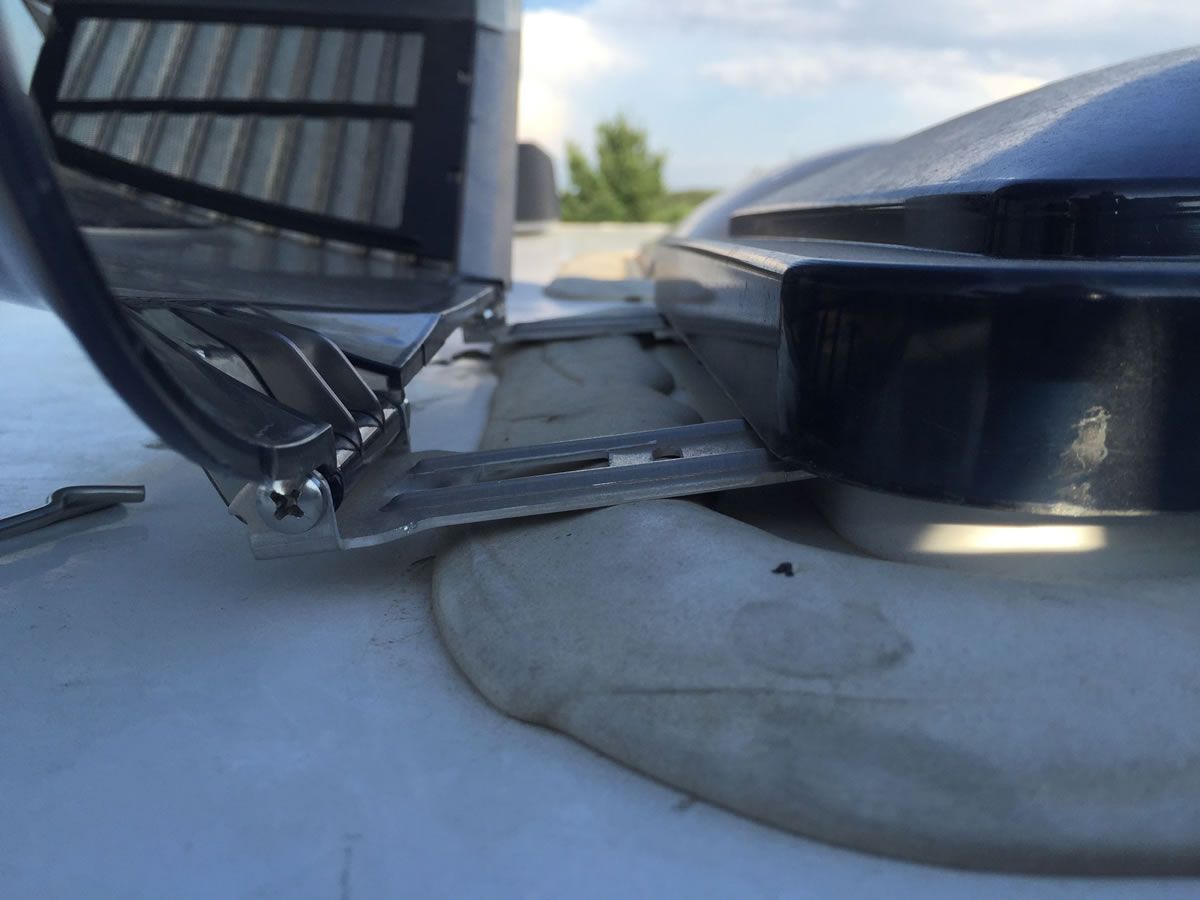
- Quick release side